
Create a Public IP
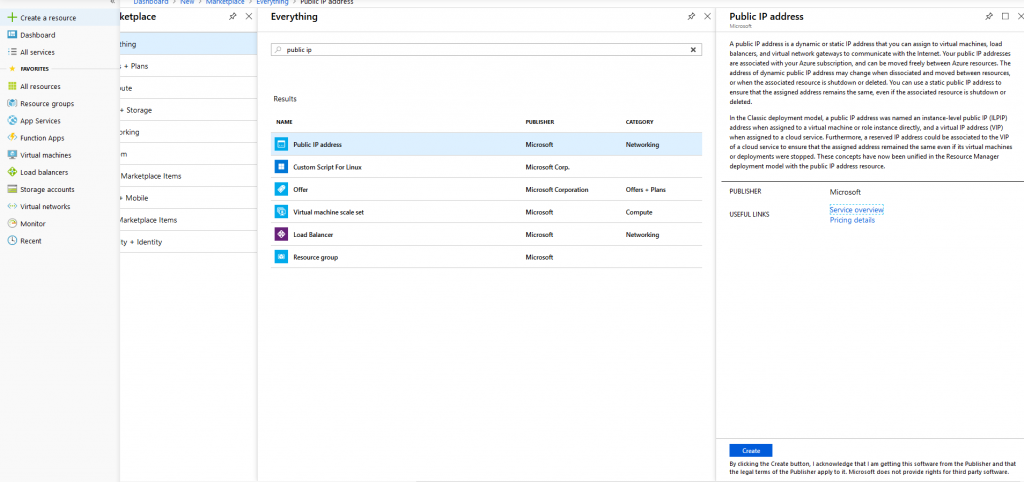
To create and associate a public IP to your VM, you can easily start the process yourself by clicking on the “Create a Resource” button located on the left hand side menu bar, searching for “Public IP” and choosing “Public IP Address” as shown below:
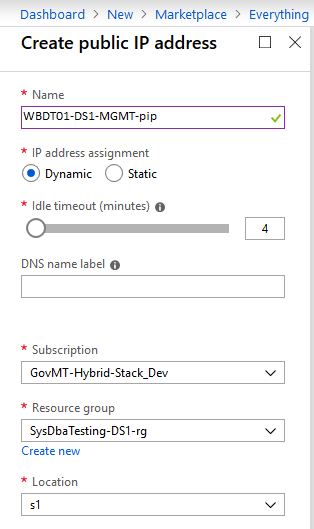
Once chosen, you will be presented with the following pane in order to enter the required information. It is advisable to follow the proper naming convention. As you’re creating the pip, keep the IP address assignment to Dynamic for now and create the interface.
Azure will inform you that the interface is being created and you will soon find it in your own Resource Group.


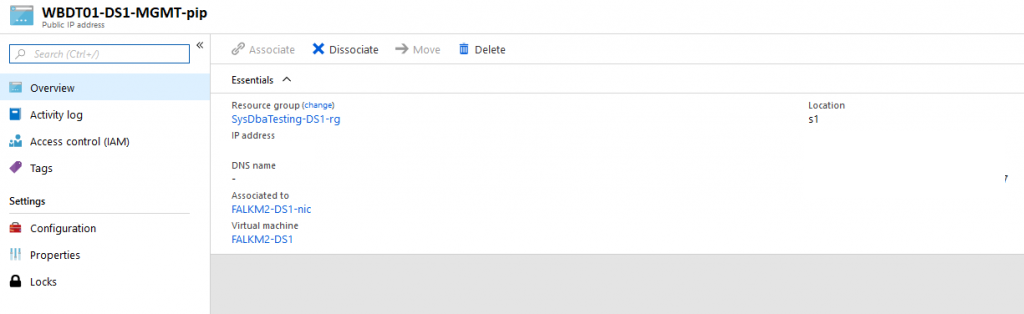
Once the interface is created, click on it to open its configuration pane as shown below.
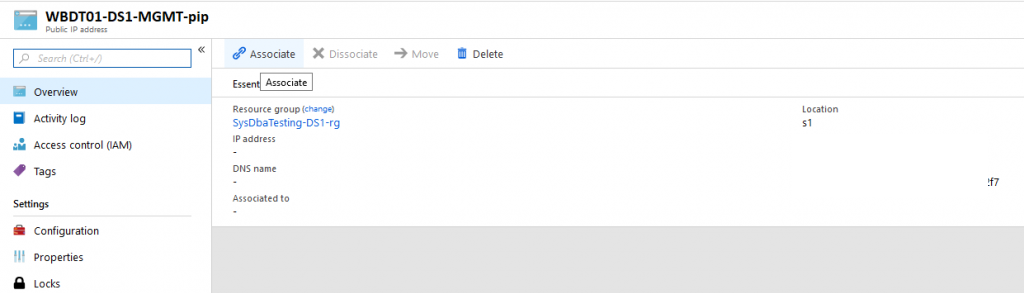
From here you must click on the “Associate” button in order to link it to the NIC of your Virtual Machine as shown below:
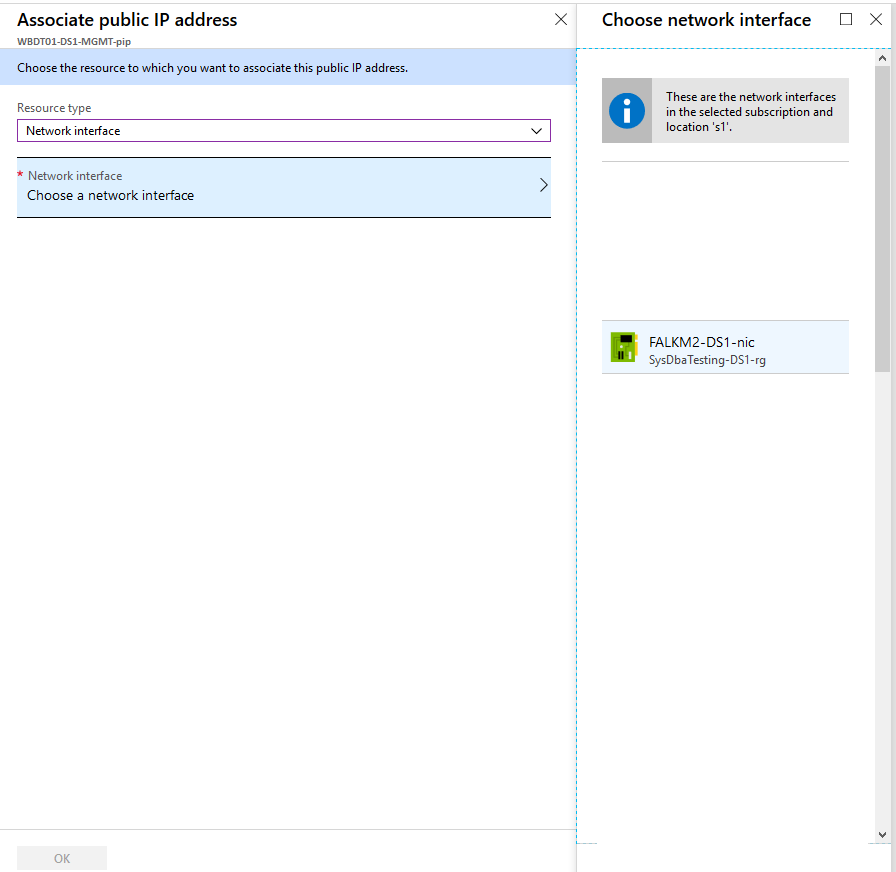
Once the interface is linked and the VM is powered on, you will finally be assigned a public IP to use. Note that you will only get an IP once the Public IP interface is attached to a powered-on VM.
Once you have your public IP you will need to set the IP assignment to static. Click on the “Configuration” button on the left to get the following pane:
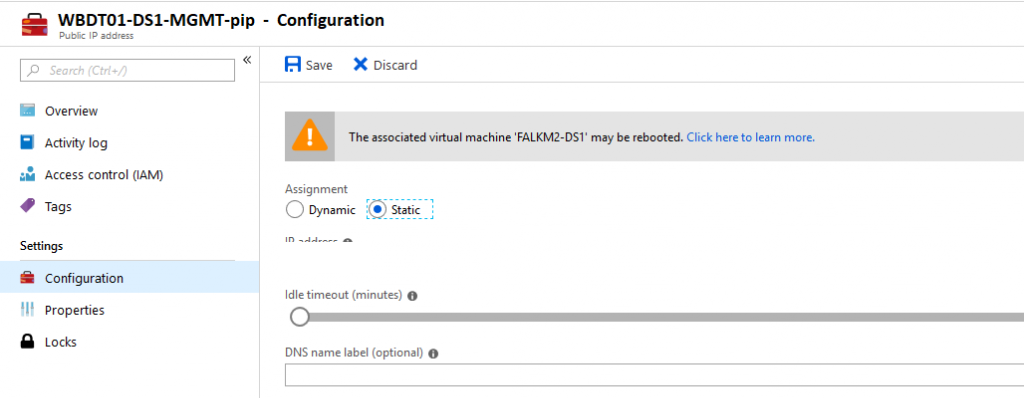
Set the IP to “Static” and click on the “Save” button above. NOTE: YOUR VM MAY BE REBOOTED.
You can now connect to your Frontend VM using the Public IP that is assigned. Standard MITA network security policies apply. Therefore, you must raise an eRFS for any incoming accesses that you require in addition to configuring the necessary rules on the NSG.