Changing VM Specs
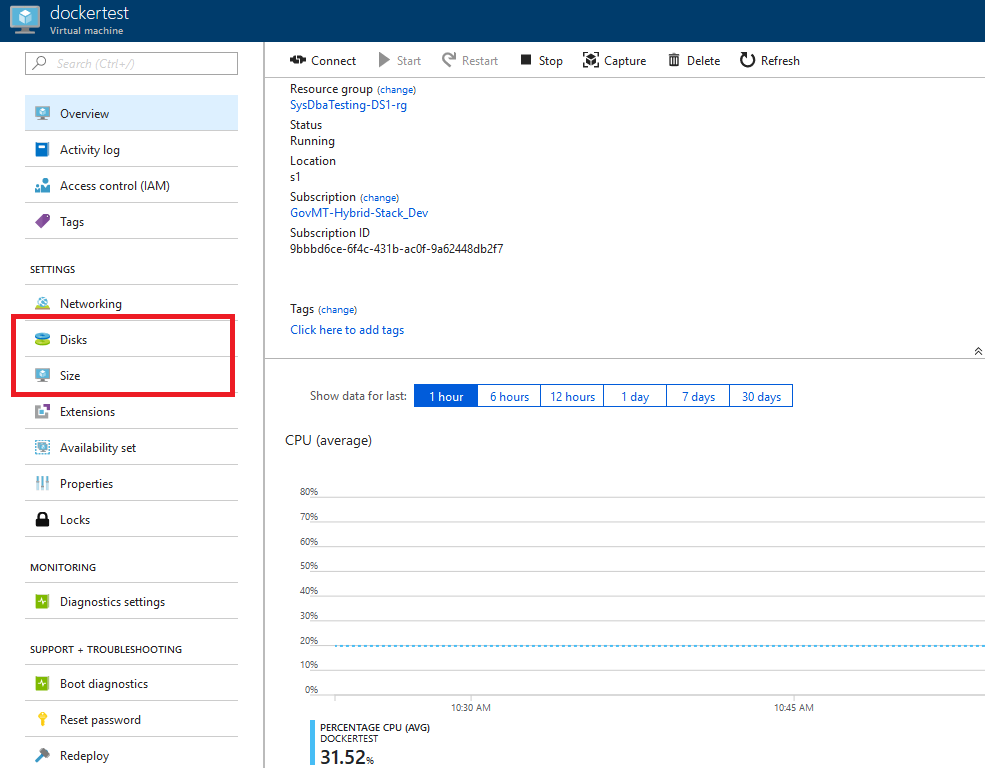
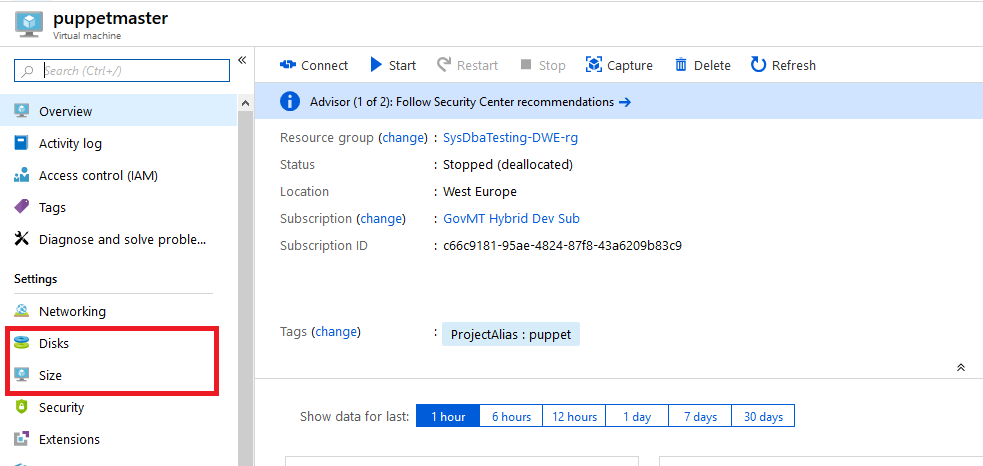
Once you have provisioned the VM of your choice, you can easily upgrade the compute and disk specifications as well as add and remove disks. This can be done by clicking on either Disks, or Size under the VM’s “Settings” section of the menu as indicated below:
Configuring Disks
NOTE: You will need to shutdown the VM to increase the size of the OS disk. It cannot be done whilst the VM is online, so please make sure to plan owntime accordingly!
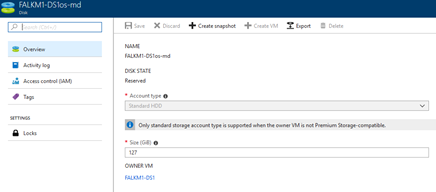
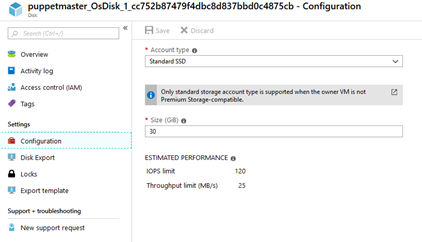
Upon clicking on the “Disks” button, you will be presented with the following screen on the on-premises cloud (Left-side) and off-premises cloud (Right-Side) respectively:

From here, you can choose to either edit the OS disk which will allow you to increase the size or add a new data disk with the size of your choice.
VM Disk sizes have a maximum limit of 1023GiB. If you require more, then you will need to create multiples of 1023GiB and create a spanned volume within the VM
Note: Once you create and attach a new disk to the VM. You must create/extend the volume on the Operating System as this is not done automatically.
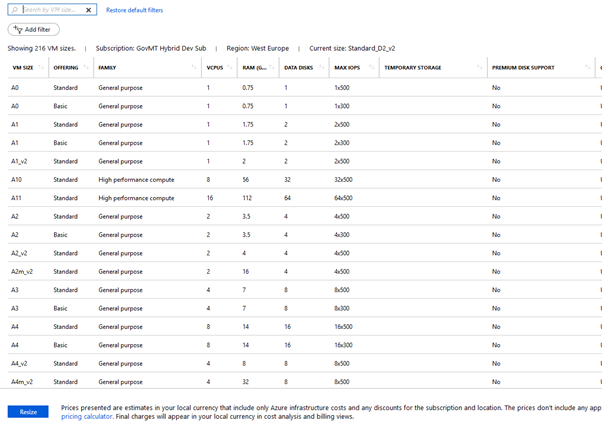
Scaling-Up VMs (Upgrading Specifications)
NOTE: Changing the VM size will restart the VM so please make sure to plan downtime accordingly!
Upon clicking on the “Size” button, you will be presented with the following screens that present the options available – Select the option that you need and click on “Resize”: