Deploy Windows 2016 SQL VM
- Sign in to the Azure Stack user portal.
Note: This document is ONLY for demonstration purposes and the settings used in this document may vary with yours
- Select + Create a resource > New > MITA Marketplace Items > MITA SQL Server 2017 on Windows Server 2016 Datacenter
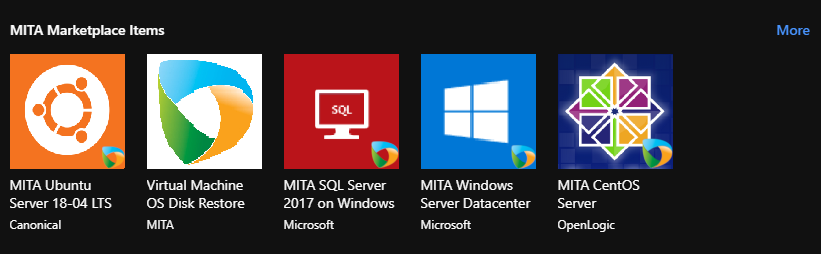
Note: Please consider the SQL licensing costs when provisioning this VM. This document demonstrates creating a Windows VM with SQL Server 2017 Standard Edition.
- Once you launch the Image, the below form will appear which is self-explanatory. Fill the relevant details in the form.
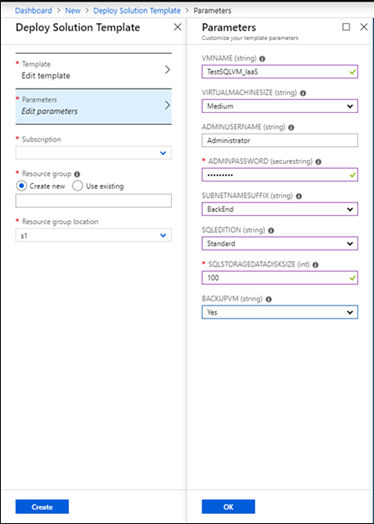
- Under Edit parameters, select the size and storage of the VM.
- Select the SQL Server edition based on the license that you want to use.
- SUBNETNAMESUFFIX(String) must be selected as ‘BackEnd’ .
- The availabilitysetname is not required but recommended if you would like to make use of a load balancer. Firstly, you will need to pre-create an Availability Set and once you’re successful, only then can you enter the name of the availability set so that the VM will join it as soon as it is created.
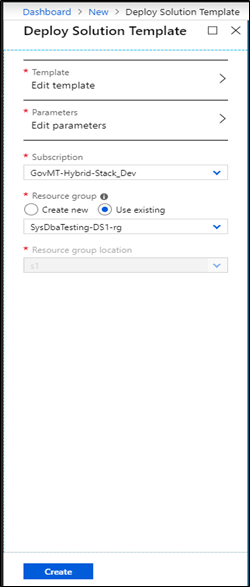
- Once you fill the details and click OK, select your subscription type, resource group(given to your during the provisioning process), and click on Create.
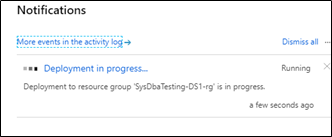
- Once you click on the create button, a “Deployment in Progress” notification will appear similar to the below screenshot:
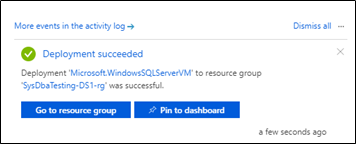
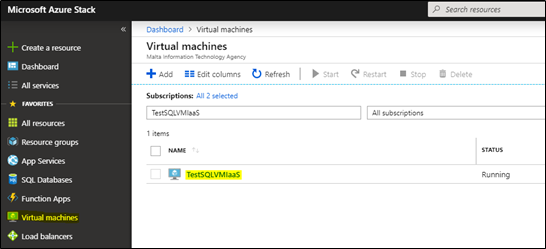
- Once the deployment of the VM is completed you can now connect to it using RDP as normal. Please ensure that you have created the necessary NSG rule for RDP by following the user guide on configuring the NSG